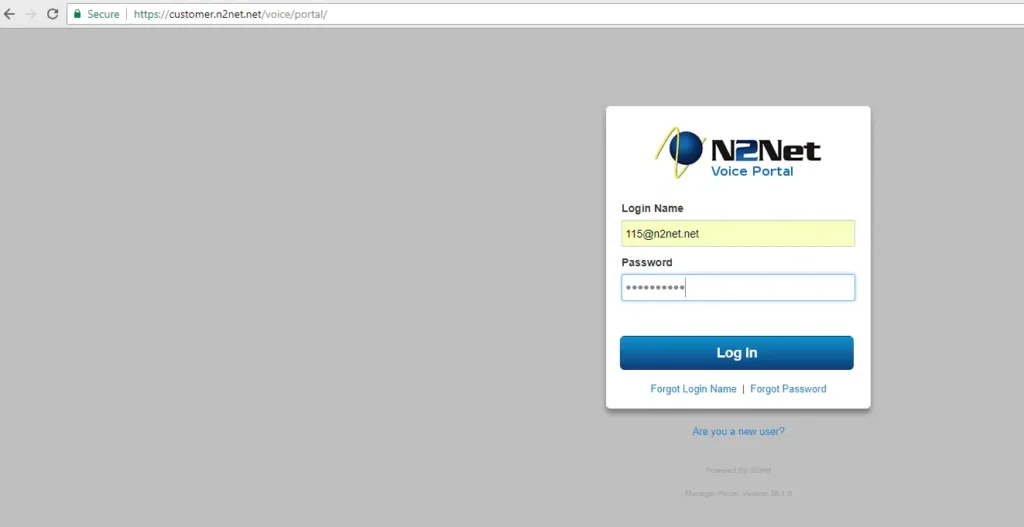
Please see your Office Manager if you do not know your username and/or password.
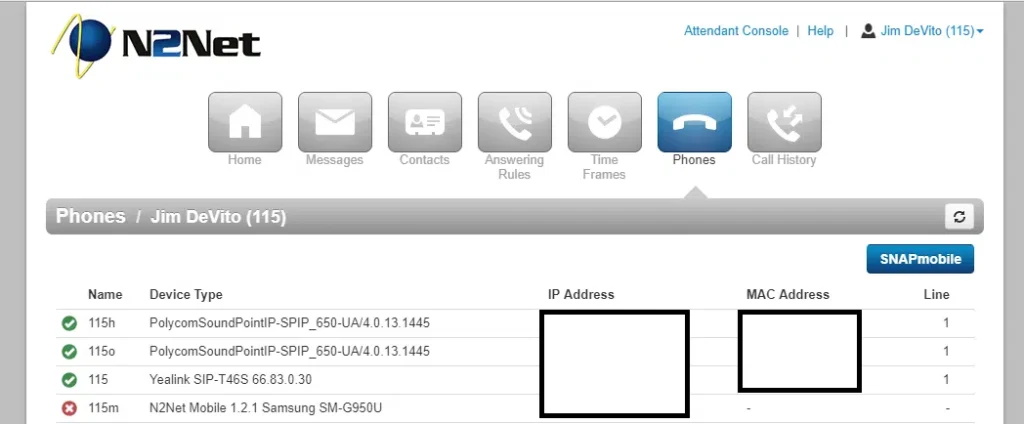
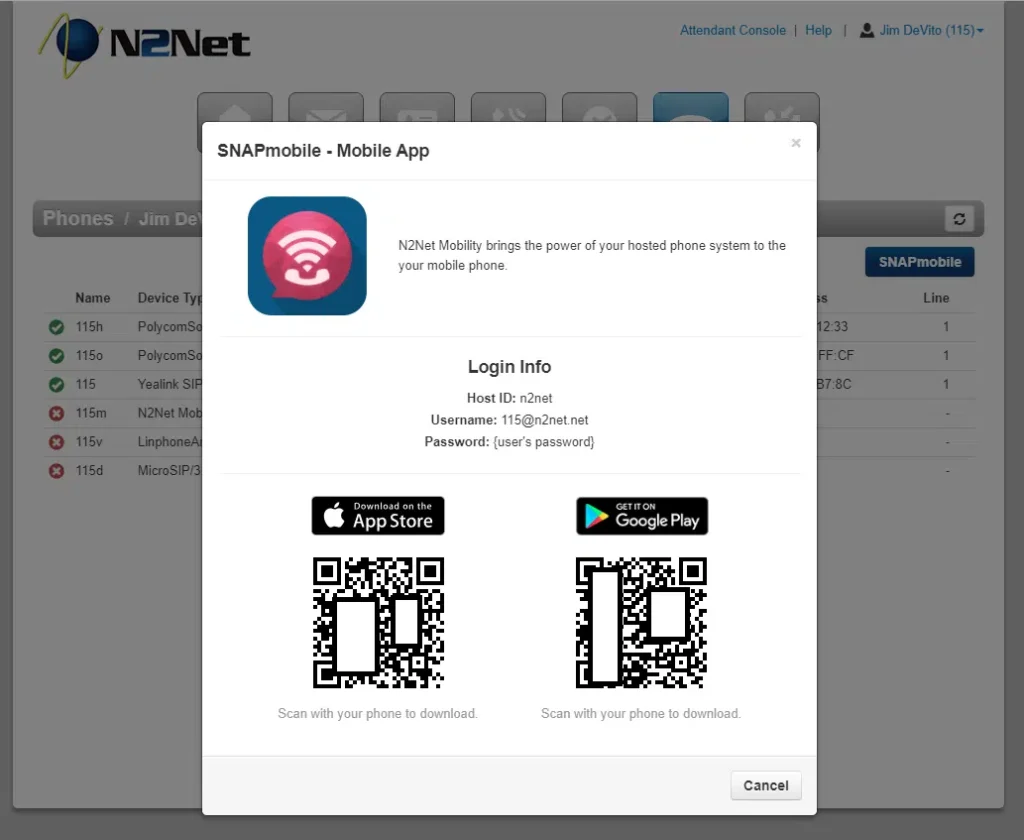
Next click on the “InfinIT Mobile” button in the middle right of the page. That will bring up the below screen.
Click the appropriate store icon for your device (or scan the QR code) and proceed to download and install the app.
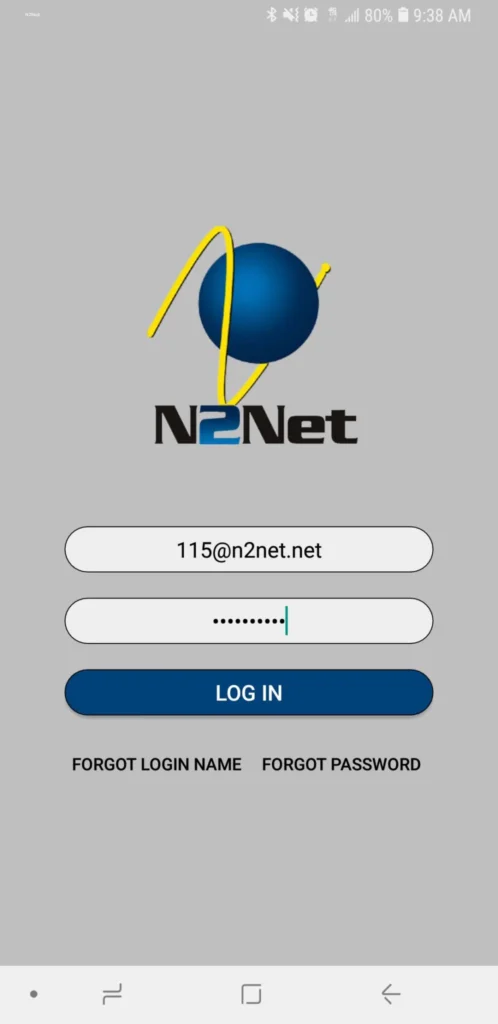
After launching the app you can log in using you same portal credentials as above.
The download should start right away.
Run through the installer. You can launch it right from the browser or from your downloads folder.
Contact InfinIT support to configure a phone for use with your MicroSIP application
Click ‘Save’ and you should be logged into your account.
With the phone plugged into your network first enable the web interface.
- On the phone or Base Unit press MENU then press # 5 3 4
- Use the arrows to select “On” and press the SAVE button.
- Press EXIT or OFF to return to the main screen.
Next, find the IP address
- Press MENU then press # 5 0 1
- Take note of the IP address given on this screen.
- Press EXIT or OFF to return to the main screen.
In a web browser on your computer perform the following.
- In the URL bar of your web browser type in the IP address, you obtained.
- Login using “admin” as the username and “adminpass” as the password.
- Select the “Maintenance” heading from the top menu.
- Set Enable Provisioning to “Yes”
- Set Standard File URL to “http://p.n2net.net/cfg/{mac}.cfg”
- Hit the Save button.
The phone should now load the new settings and register. The light on the base station will go solid green when completed.
Polycom Phone Provisioning
1. First reset the phone to defaults.
- Press Menu
- Choose “Settings”
- Choose “Advanced”
- Enter Password: 456
- Select “Admin Settings”
- Select “Reset to Default”
- Select “Reset Device Settings”
- Press “Yes” soft key
- The phone will now reboot, be ready for the next screen as it boots.
2. As the phone reboots to the Welcome screen, press “Setup”
- Select “DHCP Menu” using Arrow Keys
- Press “SELECT” soft key
- Set Boot Server to “Static”
- Press “EXIT”
- Select “Server Menu”
- Set “Server Address” to <Request From Support> (Use * for .)
- Set “Server User” to <Request From Support>
- Set “Server Password” to <Request From Support>
- Press “EXIT”
- Press “EXIT” one more time
- Make sure that “Save & Reboot” is highlighted
- Press “SELECT”
3. The phone should reboot, download its provisioning information and then show its extension number as the first line of the phone.


